
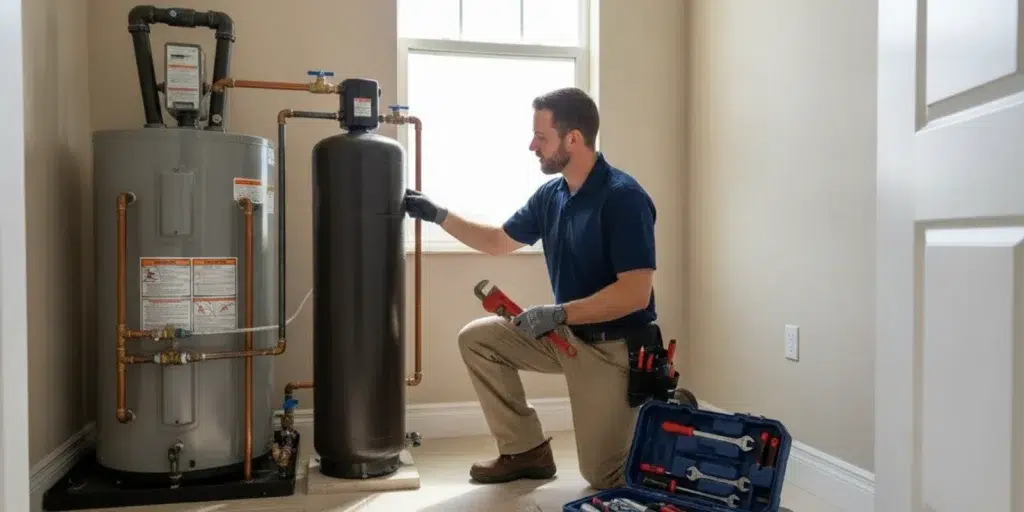
Knowing what to expect during water softener installation can make the project easier to plan. In a typical home, the work involves checking the plumbing and proposed location, connecting the equipment to the water supply and drain, setting up the controls, and confirming that the system starts and operates as intended. The exact steps depend on the home, the selected equipment, and the existing plumbing.
Call Whiskey Creek Plumbing at (239) 785-9022 to discuss your installation
What happens before the water softener is installed?
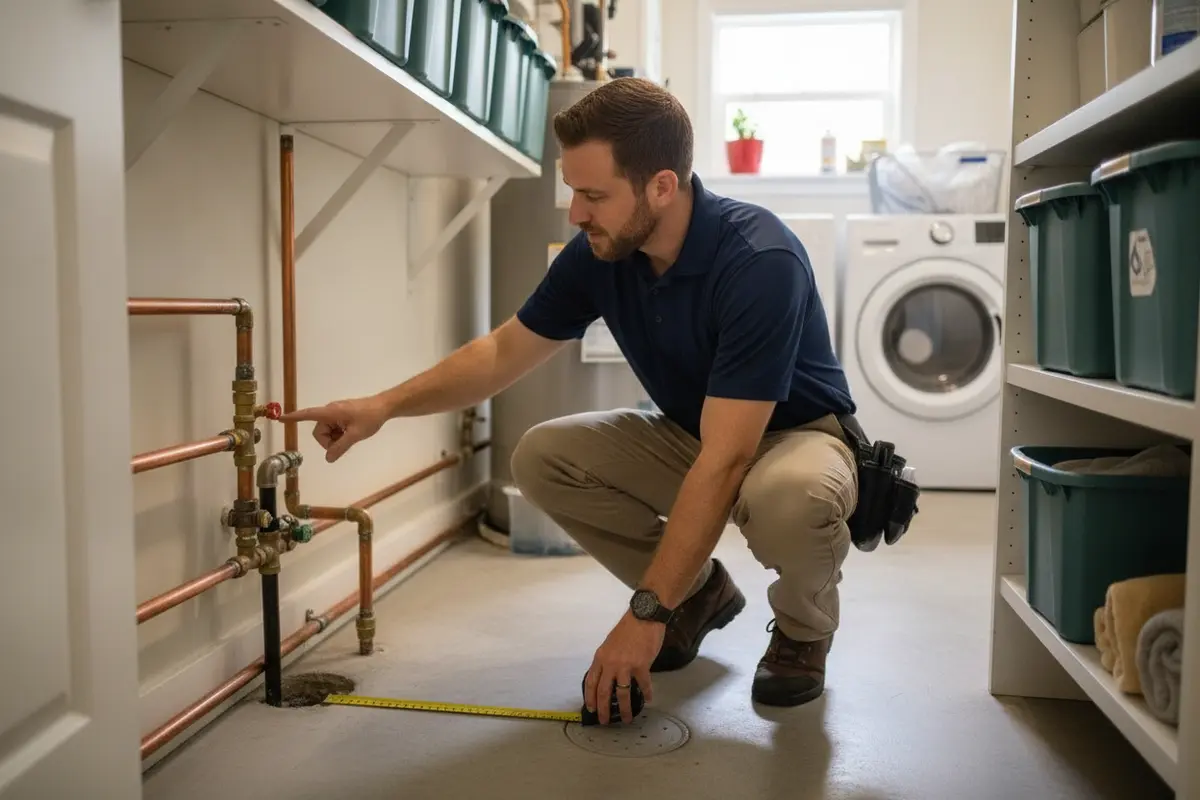
Installation planning starts with the home’s plumbing layout, not simply finding an open spot for a tank. A softener needs to connect to the appropriate water line, have a way to send regeneration discharge to an approved drain, and be placed where it can be serviced. The plumber should also confirm how the system will work with the home’s water supply and other treatment equipment.
Review the water supply and plumbing layout
The installer identifies where water enters the building and how the existing piping is arranged. The goal is to determine an appropriate connection point and understand which fixtures or branches the system is intended to serve. A whole-home arrangement is different from treating only one fixture, so confirm the planned coverage before work begins.
It is also useful to discuss the source and characteristics of the water. A softener is designed to address hardness minerals, not every possible water-quality concern. If a home has a private well, unusual staining, odor, or other water concerns, ask whether testing or a different treatment step is appropriate. Penn State Extension explains that water treatment choices depend on the water issue being addressed; its overview of water softening is a helpful starting point for understanding the treatment category.
Choose a practical location
Installers often look near the main water line and a drain, but the best location varies. The equipment needs enough room for the mineral tank and brine tank, plus access to fill, inspect, and maintain them. The floor or platform must suit the equipment, and the location should allow the required piping and electrical connection, if the particular model needs one.
In Southwest Florida homes, a garage or utility area may be considered, but an installer should assess the actual conditions rather than assume every location is suitable. Ask how the proposed placement affects access, protection from heat or weather exposure, and the path to the drain. A clear explanation now can prevent surprises once installation starts.
Confirm the equipment and installation plan
Before the work is scheduled, confirm the system model, what the installation includes, and whether any plumbing changes are expected. Ask whether bypass valves, a drain connection, shutoff access, and startup settings are part of the plan. A bypass allows water to be routed around the treatment unit for certain service or maintenance needs, but how it is configured depends on the installation.
Costs and work scope can vary, so get the agreed scope in writing before the appointment. Whiskey Creek Plumbing uses fixed-price service, and we discuss the work and price before proceeding. If you are comparing options, our water softener installation guide for Fort Myers can help you explore the broader decision; this article focuses on what the installation process typically involves.
How is the water softener connected?
Once the location and connection plan are confirmed, the installer prepares the work area and isolates the relevant plumbing. The sequence varies with the house, but the main stages usually include making the water-line connection, routing the drain discharge, installing or checking the bypass arrangement, and connecting any required power. The installer then restores water and inspects the work for leaks.
Isolate and prepare the plumbing
Water to the affected piping is shut off before it is cut or modified. The installer protects the work area, identifies the inlet and outlet sides of the equipment, and prepares the connection point. If the layout is more complex than expected, the plumber should explain the change before proceeding rather than make an unapproved adjustment.
Homeowners can help by clearing stored items from the proposed work area and making the shutoff location accessible. Keep pets and children away from tools and open plumbing during the work. If the unit is in a shared utility space, move items that could obstruct access to the piping or drain.
Connect the inlet, outlet, and bypass
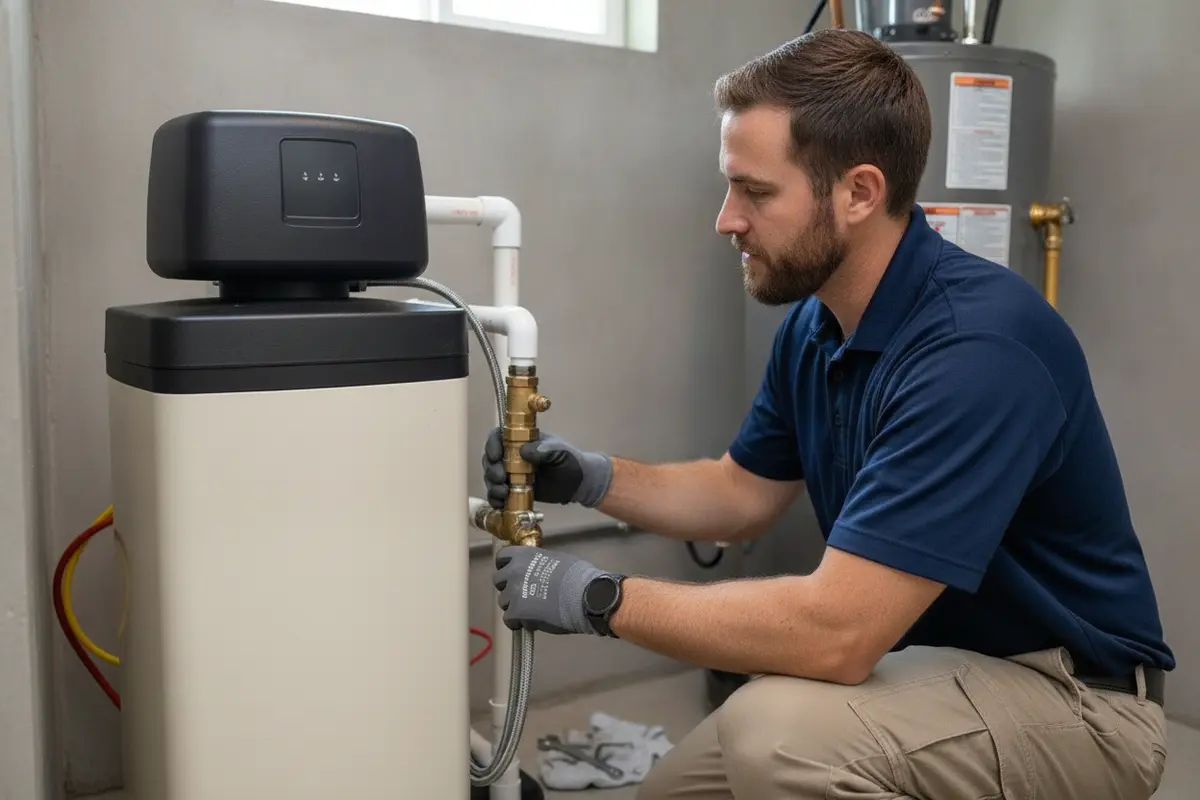
The installer connects the system so incoming water enters the treatment unit and treated water returns to the plumbing serving the intended fixtures. A bypass arrangement provides a way to route water around the unit when needed. The physical piping and valve style can differ by model and home, so ask the installer to point out the normal operating position and explain how to use the bypass if service is required.
The quality of the connection matters as much as the equipment choice. The plumber needs to preserve access to shutoffs, avoid putting strain on the pipes, and use materials compatible with the existing system. A clean installation should leave the valve and fittings accessible for inspection rather than buried behind stored belongings or inaccessible finishes.
Route regeneration discharge to a suitable drain
Many salt-based ion-exchange softeners periodically regenerate their resin. During that process, the system sends discharge water through a drain line. The drain route and connection must follow the equipment instructions and applicable plumbing requirements. It is not enough to leave a loose hose near a floor drain; the installer should explain how the discharge is secured and where it goes.
Drain access is one reason a proposed location may need adjustment. The route should be practical and should not create a trip hazard or allow discharge to spill into the room. If a suitable drain is not close by, ask what alternatives are allowed for the selected equipment and whether additional work changes the agreed scope.
Connect power when the model requires it
Many automatic units use an electronic control valve and need a power source; other configurations may differ. The installer should follow the manufacturer’s requirements for the specific model and explain any outlet or electrical needs before the appointment. Do not assume an extension cord or an improvised electrical setup is appropriate. If electrical work beyond the plumbing installation is needed, clarify who is responsible for it.
What does startup and testing involve?
After the plumbing connections are complete, the installer brings the system into service according to the equipment instructions. That commonly means checking the bypass position, slowly restoring water as appropriate, inspecting joints for leaks, setting the control valve, and making sure the system can begin its operating cycle. Startup procedures vary by manufacturer, so the installer should use the instructions for the unit that was installed.
Check for leaks and normal water flow
The installer should inspect the new connections after the water is restored. Look for drips around fittings, valves, and the drain connection. The installer may also check that the expected fixtures receive water and that the system is not left in bypass unless that is part of the startup procedure. If you notice a new leak or unexpected loss of water pressure after the visit, contact the installer promptly.
Set the control and explain regeneration
Control settings depend on the unit and information used to configure it, such as the home’s water conditions and expected use. The installer should identify the settings that matter to the homeowner, including the clock or display, regeneration schedule or mode, and any indicators shown by the unit. Avoid changing settings without understanding what they do.
Regeneration is the process that restores a softener’s capacity to treat water. The timing and frequency are not identical for every system. Ask when the first cycle is expected, whether water use should be avoided during a cycle, and what sounds or display messages are normal for this particular unit. A clear handoff is more useful than trying to apply generic settings from another model.
Review the system and the work area
Before the installer leaves, ask for a brief walk-through. You should know where the bypass and shutoff are, how to access the control, where the drain line runs, and whom to contact with a question. Ask whether there are first-use steps, salt or other supplies to add, or maintenance items specific to the installed model.
Also check that the work area has been tidied and that service access remains clear. Keep the equipment manual and any installation information where you can find them. If the installer has changed an existing valve or piping route, have them show you what changed and why.
How do installation stages compare?
This overview shows the purpose of each stage and what a homeowner can reasonably expect. Exact tasks depend on the system and property, so use it as a conversation guide rather than a fixed promise of timing or scope.
| Stage | What the installer typically does | What you can confirm |
|---|---|---|
| Assessment | Reviews water line, location, drain access, and equipment plan. | Coverage area, placement, scope, and any expected changes. |
| Connection | Prepares plumbing, connects inlet and outlet, routes discharge, and checks bypass. | Drain destination, shutoff access, and service clearance. |
| Startup | Restores water, inspects connections, and configures the control as required. | Leak check, normal operating mode, and expected cycle behavior. |
| Handoff | Explains basic operation and model-specific care. | How to use bypass, read controls, and get follow-up help. |
How can homeowners prepare for installation day?
A little preparation can make the appointment more straightforward. You do not need to perform plumbing work yourself. Focus on access, questions, and information about the home.
- Clear the planned area. Move boxes, tools, and stored items so the installer can reach the proposed location, nearby pipes, and drain.
- Make shutoffs accessible. If you know where the main shutoff or local valves are, point them out. Do not force a stuck valve; tell the plumber if access or operation is uncertain.
- Share relevant water information. Mention whether the home uses municipal water or a private well and describe any known water concerns or existing treatment equipment.
- Keep the route open. Provide a clear path from the entrance to the work area and keep children and pets safely away while work is underway.
- Have your questions ready. Ask about placement, drain routing, the bypass, controls, maintenance, and what is included in the quoted scope.
- Plan for a temporary interruption. Plumbing work may require water to be off for part of the appointment. Ask your installer about the expected interruption for your particular job and plan essential water use accordingly.
If you are still sorting out whether hardness is the concern, read our overview of hard water and plumbing in Fort Myers. For a broader look at treatment choices and the questions to ask before choosing equipment, use this article as a starting point and discuss the right setup for your home and water with a qualified plumber.
What can change the installation plan?
Not every home has the same plumbing layout or available drain access. Several practical conditions can affect how the work is arranged and what needs to be discussed before installation:
- Limited space: The equipment may need a different location if there is not adequate room for the tanks, service access, or connections.
- Distance to a drain: A long or difficult discharge route can require a different plan. The installer should identify a suitable route that follows the equipment requirements.
- Existing plumbing condition: Corrosion, old valves, incompatible fittings, or prior modifications may need attention before a reliable connection can be made.
- Other treatment equipment: Existing filters or treatment devices may affect the order of equipment and the location of connections. Tell the plumber what is already installed.
- Water source and needs: A private well, unusual water characteristics, or a treatment goal beyond hardness may call for testing or a different treatment strategy.
- Model requirements: The selected softener’s dimensions, controls, power needs, and discharge instructions affect the installation details.
These are reasons to evaluate the site and confirm scope before work begins. They are not automatic signs that a particular repair or upgrade is necessary. Ask the plumber to explain the condition, the available options, and any change to the price before authorizing additional work.
What should you ask your plumber?
Use the appointment or estimate conversation to get clear, specific answers. Helpful questions include:
- Which fixtures or parts of the property will the system serve?
- Where will the unit be installed, and will there be enough space to maintain it?
- Where will regeneration discharge go, and how is the drain line secured?
- Is a bypass included, and can you show me how it works?
- What settings will be configured at startup, and what should I leave unchanged?
- What maintenance does this model need, and what supplies should I keep on hand?
- What is included in the fixed price, and how will any unexpected plumbing condition be handled?
- Who should I contact if I see a leak or the control displays an error?
A dependable explanation should connect the proposed work to the specific home. It should distinguish the included installation from optional work and make it easy to understand what happens next. If you want to learn more about the plumbing work we handle, visit our plumbing services in Lee County page or learn about our family-run team.
Call (239) 785-9022 with questions about water softener installation
Frequently asked questions
How long does water softener installation take?
Installation time depends on the equipment, plumbing layout, location, and whether changes are needed to the drain or water lines. Ask the plumber for an estimate based on the specific home rather than relying on a universal time. The installer should also explain if an unexpected condition changes the plan.
Will the water be shut off during installation?
The affected plumbing generally needs to be isolated while connections are made, so expect a temporary interruption to water service. The length of the interruption depends on the work. Ask the installer what to expect and when it is appropriate to use the fixtures again.
Does a water softener need a drain?
Many salt-based ion-exchange systems discharge water during regeneration and need a suitable drain connection. Equipment varies, so confirm the selected system’s requirements and where its discharge line will terminate. The drain route should be explained as part of the installation plan.
Can a water softener be installed in a garage?
It may be possible, but suitability depends on the actual space, plumbing, drain access, and the equipment’s installation requirements. Ask a plumber to assess the location and explain how the unit will remain accessible and protected in that setting.
What should I check after the installer leaves?
Confirm that you know how to identify normal operation, access the bypass and controls, and reach the installer with questions. Keep an eye on the connections and drain area for leaks, and follow the maintenance guidance for the exact model. If you notice a problem, contact the installer rather than changing unfamiliar settings.
Plan your water softener installation
A well-planned installation is about more than setting a tank in place. The plumbing connection, drain route, startup settings, and homeowner handoff all matter. Whiskey Creek Plumbing serves Fort Myers and surrounding Southwest Florida communities, and we explain the work and fixed price before moving forward.
Call (239) 785-9022 to plan your water softener installation
With the location, scope, and operating basics clear before the appointment, you can approach installation day knowing what questions to ask and what to expect from the work.
Related guide: Water Softener Drain Keeps Running: Normal Cycle or Problem?.