
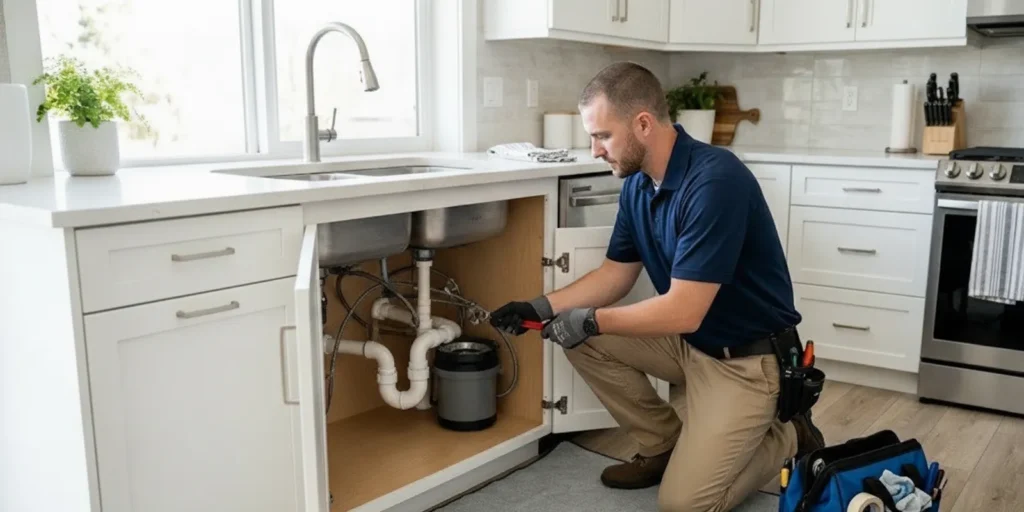
Drain installation Bonita Springs homeowners need begins with a simple question: does the property need a new drain line, a replacement section, or a different solution for the problem? A sound plan identifies the fixture, confirms a practical route to the existing drainage system, and explains access, testing, and any required approvals before work starts.
Contact us to discuss a drain installation
What does a drain installation involve?
A drain carries wastewater away from a fixture such as a sink, shower, tub, toilet, or laundry appliance. Installation can mean adding a branch line for a new fixture, replacing a damaged length of pipe, or adapting a route during a renovation. The proper scope depends on the fixture, the existing system, and how a suitable connection can be reached. Piping is only one part of the system. The fixture connection, trap, pipe direction and slope, venting, cleanout access, and adjoining pipe condition may all matter. These parts work together. A new line that looks tidy but does not drain reliably or cannot be serviced easily is not a complete solution.
A conversation about symptoms and project goals is useful, but it cannot establish every detail of the route. Before walls or floors are opened, ask what an assessment has established and what remains uncertain. If the work is for a remodel, discuss the fixture’s planned location before cabinets, flooring, or walls conceal the route. That timing gives you a chance to understand access and connection options before the rest of the project depends on them.
When is a new drain line worth investigating?
A slow or noisy drain does not automatically mean a new line is required. A local blockage, damaged trap, venting concern, or issue farther along a shared line can create similar signs. The pattern can help direct an investigation, but a professional assessment is needed to determine the cause.
- One fixture is affected: The issue may be near that fixture, including its trap or branch. Ask whether the condition can be corrected locally before considering a longer replacement.
- Several fixtures are affected: Fixtures that share a branch or building drain may point to a common issue. Note which fixtures are involved and whether they act up together.
- The problem returns after clearing: Recurring trouble can justify checking for an obstruction, damage, or a layout concern rather than repeatedly treating the symptom.
- There is a leak, odor, or visible damage: Share the location and timing. Avoid opening a wall or floor without knowing what is behind it.
- A fixture is being added or moved: The new fixture needs a suitable drainage connection. Discuss its intended location before remodeling work closes access.
When you call, describe the affected fixtures, when the issue began, what makes it better or worse, and whether previous clearing or repair helped. That history can help distinguish a localized problem from a new branch or replacement project. Our drain cleaning service information explains a blockage-focused option that may differ from installation.
What should a plumber assess before planning the route?
The goal is to understand where the drain must begin and end, what lies between those points, and how the work can be completed without avoidable access or maintenance problems. A useful assessment should make the proposed route understandable to the homeowner.
- Identify the fixture and use. Confirm whether the work serves a sink, shower, laundry area, or another fixture. Note whether it is new, relocated, or replacing an existing one.
- Locate a suitable connection. Establish where the line can connect to the existing drainage system. The connection point and adjoining pipe condition can change the scope.
- Inspect route and access. Consider cabinets, walls, floors, framing, utilities, and other plumbing. Ask which surfaces may need to be opened and whether cleanout access is appropriate.
- Confirm the drainage layout. Pipe direction, slope, venting, and fixture connections must be considered as a system. Ask how the layout fits this property rather than accepting a generic route.
- Discuss testing and closeout. Ask how the installed line will be checked for leaks and proper drainage before access is closed or the fixture is used.
- Check permit and inspection requirements. Requirements depend on the project and jurisdiction. The Florida Building Commission provides information about Florida’s building-code framework; ask the contractor and relevant local authority what applies to your work.
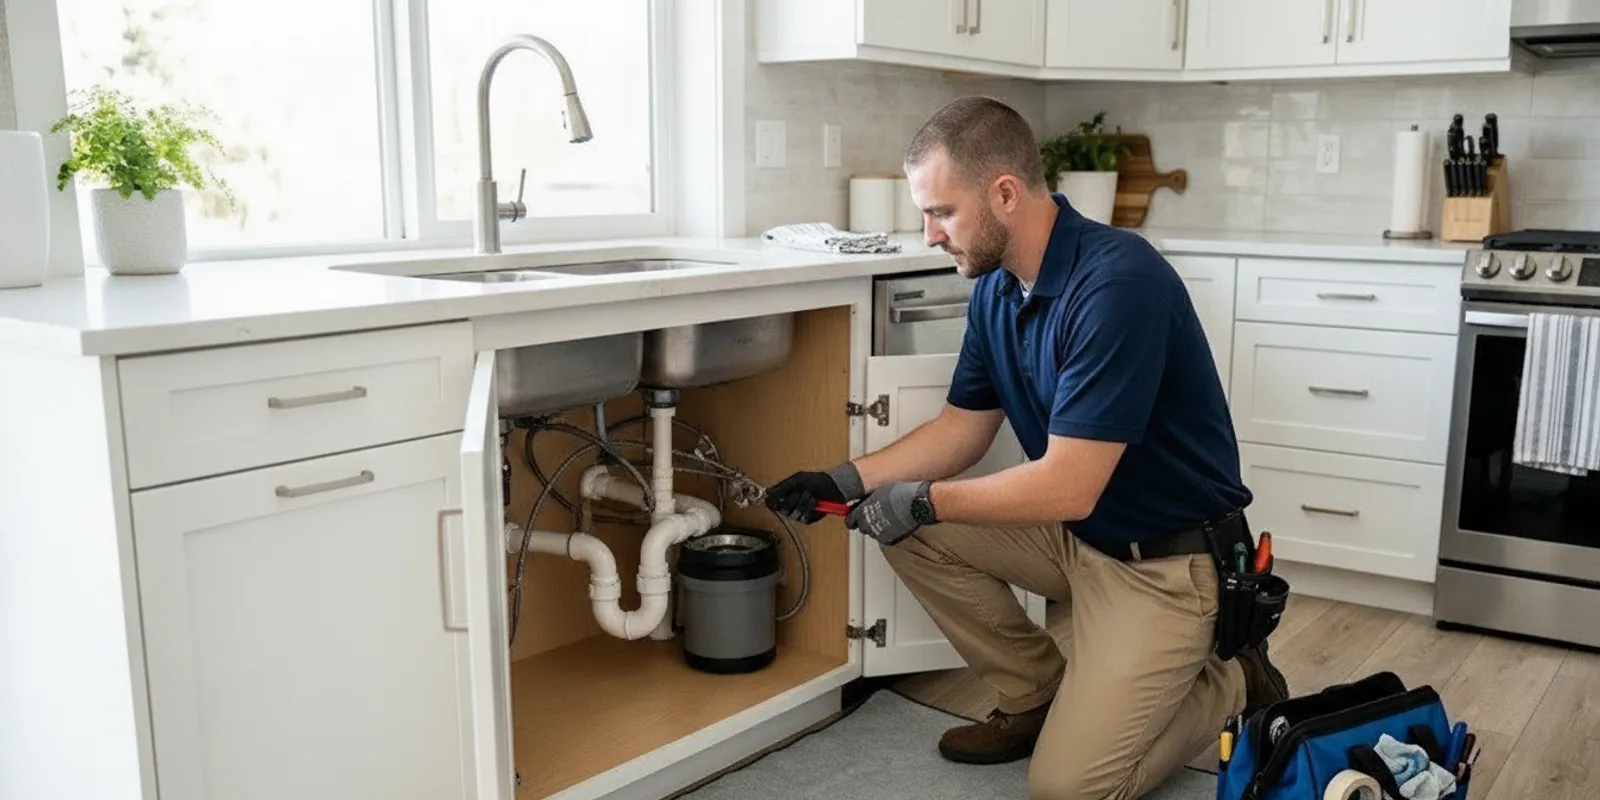
A useful route discussion includes both the preferred plan and its constraints. For example, a line from a new laundry location may need to cross finished space to reach a suitable connection. The plumber should describe access implications and explain any alternate route, rather than assuming the shortest visible path will work. Ask what is known, what is not visible yet, and what would trigger a scope change.
How does a project move from assessment to completed work?
A homeowner should be able to follow the reasoning from the first observation to the final test. The sequence varies by property, but these stages show where to ask questions.
- Document the concern or goal. Describe the fixture, timing of symptoms, and reason for adding or moving it. For a renovation, share the planned location and any schedule constraints.
- Inspect the fixture and nearby piping. The plumber checks visible connections and considers whether the issue appears limited to one fixture or may involve a shared section. Review repeated clogs, leaks, or prior repairs.
- Trace a feasible route. Identify a connection point and consider access, obstructions, and the path through the home. If a route crosses a finished surface, ask whether another route is practical and what tradeoffs it creates.
- Agree on written scope. Confirm which pipe and connections are included, what openings may be needed, how the line will be checked, and how extra work will be approved if concealed conditions differ.
- Complete and check the work. After installation, the plumber should test the line as appropriate and explain any remaining steps, such as an inspection or coordination before a wall or floor is restored.
Consider a bathroom remodel where the vanity is moving to another wall. The decision is not simply whether a drain can be extended. The project needs a route to a suitable connection, access to make the work, and coordination with the remodel sequence. If a constraint is identified, ask what it means for fixture location, access, and timing before other work closes the area.
Now consider a different case: only a kitchen sink drains slowly, while nearby fixtures work normally. This pattern does not prove the problem is local, but it is a reason to investigate the fixture and branch before assuming the entire drainage system needs replacement. Ask what the inspection showed and how the findings support the recommendation.
How do common drain projects differ?
This comparison is a planning aid, not a diagnosis. Similar symptoms can have different causes, so ask which observations support the proposed scope.
One fixture drains slowly
- Possible scope to assess
- Trap, fitting, or short branch inspection; cleaning or localized repair may be enough
- Question to ask
- What evidence shows a new line is needed?
A fixture is being added
- Possible scope to assess
- New branch line, fixture connection, and coordination with existing drainage
- Question to ask
- Where will it connect, and what access is required?
Several fixtures have recurring problems
- Possible scope to assess
- Investigation of shared piping or building drain before choosing a fix
- Question to ask
- Which fixtures and findings point to a shared section?
Pipe is visibly damaged or leaking
- Possible scope to assess
- Repair or replacement of affected section, depending on condition and access
- Question to ask
- How much pipe is affected, and how will it be tested?
Do not treat a comparison table as a substitute for inspecting the line. It is meant to help you ask focused questions and compare the explanation with the symptoms you have observed.
What should you confirm before access is closed?
Some installation details are easiest to review while the pipe and connection remain visible. Before an access opening is closed or another trade covers the work, ask for a brief walkthrough or explanation. You do not need to inspect technical work yourself; the goal is to understand what was completed and any remaining responsibilities.
- Confirm which fixture the new or replaced section serves and where it connects.
- Ask whether the route changed from the original plan and what prompted the change.
- Confirm what test was performed and whether the fixture can be returned to normal use.
- Check whether an inspection or other step remains before finishes are restored.
- Ask what to watch for after the work, such as recurring drainage symptoms or visible moisture, and whom to contact if something seems wrong.
For example, a homeowner may expect a vanity drain to move to a new location, but the final route may require an access opening in a nearby cabinet or wall. Confirming the route and restoration responsibility before the remodel proceeds helps avoid confusion between plumbing and finish work. Keep the proposal and approved scope changes with your home records so the project history is available if questions arise later.
Which factors shape the scope, schedule, and quote?
Two drain projects serving similar fixtures can require different work. The proposal should explain its assumptions and identify details that could change once the route is accessible. A clear scope helps you understand what is included instead of relying on a total alone.
- Pipe length and connection: A short accessible branch differs from a longer route through finished areas. The connection point may need attention if adjacent pipe is damaged or unsuitable.
- Access: Piping in an open cabinet differs from a line behind a finished wall or below flooring. Ask what removal is anticipated and who restores finishes.
- Route constraints: Framing, utilities, and existing plumbing can limit the path. A route change can affect materials and access work.
- Project coordination: Fixture additions may need coordination with cabinets, flooring, or other trade work. Clarify the order and when the fixture can be used.
- Permits or inspections: If applicable, these steps can affect schedule and sequence. Ask who confirms requirements and arranges inspection.
- Testing and cleanup: Confirm how function will be checked and what cleanup is included. Agree on the condition of the work area and open access points.
Ask for a written description of the affected line, route, connection, access, testing, and how changed conditions will be handled. Whiskey Creek Plumbing uses fixed-price service rather than hourly billing, with pricing explained before work proceeds. Read our guide to fixed-price plumbing for context on comparing the scope behind a quote. Clarify exclusions and approval steps before work begins so the price and described work are understood.
How can you prepare for the visit?
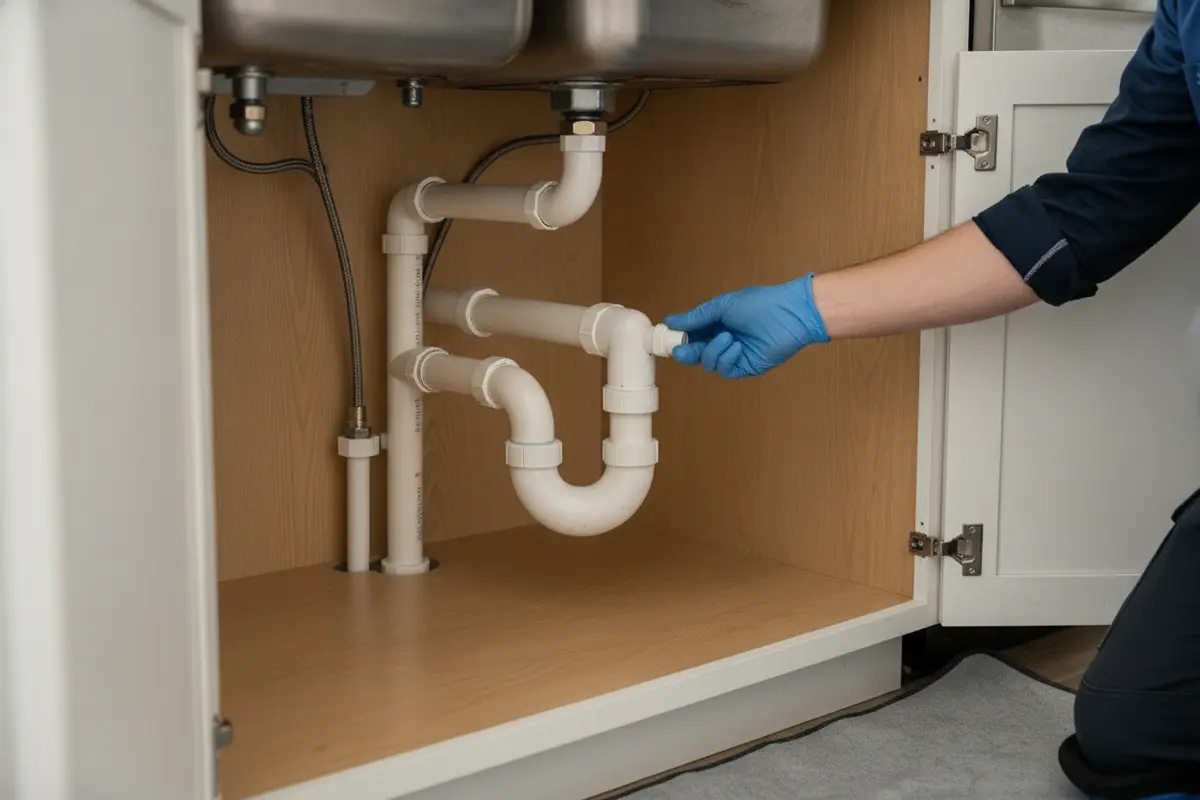
You do not need to remove pipe or open a wall before an assessment. A little preparation helps the plumber see the relevant area and understand the history without disturbing anything unnecessarily.
- Clear supplies from beneath affected sinks and around the planned work area.
- List every fixture involved, when symptoms occur, and how often they return.
- Share details of remodeling, drain clearing, or plumbing repairs if known.
- Point out stains, damp areas, odors, unusual sounds, or previous repairs.
- Ask what access the assessment requires and whether fixture use must stop during work.
- Keep children and pets away from the work zone when tools or open piping are present.
If the work is part of a larger project, our plumbing services overview can help identify the service discussion. To check location coverage, see the Bonita Springs service-area page.
How should you compare drain installation proposals?
Compare what each proposal includes, not just the total. Providers may propose different routes, access work, or amounts of pipe. Ask for the diagnosis and reasoning behind the recommendation.
- Which fixture, branch, or section is included?
- What route and connection point are proposed, and why?
- What access, removal, and cleanup are included? What finish restoration is excluded?
- Will the scope change if adjoining pipe is damaged? How will you approve a change?
- How will the plumber check the work before it is complete?
- Who confirms permit or inspection requirements, if applicable?
- Is the price fixed for the written scope, and what conditions could change it?
Imagine one proposal replaces a short accessible branch while another recommends a longer section behind a finished wall. Ask each provider to explain the finding that supports the length and route. The proposals may not be comparable until you understand why their scopes differ. A clear explanation cannot predict every hidden condition, but it can set out how a change will be discussed and approved.
Be cautious about extensive replacement based only on a slow drain. Ask what was inspected, what alternatives were considered, and how the recommendation relates to the symptoms. Conversely, do not dismiss replacement if the plumber can show damage or another condition a simple clearing would not address. A useful proposal gives you enough detail to decide with a clear understanding of both the work and its limits.
Call (239) 785-9022 to talk through your drain options
Frequently asked questions
Does a slow drain mean I need a new drain line?
Not necessarily. A blockage or problem near one fixture can cause slow drainage. Have the cause assessed before deciding between cleaning, localized repair, or installation.
Can a drain be added for a remodeled bathroom or laundry area?
A new fixture may be possible, but route, connection point, access, and applicable requirements need evaluation at the property. Discuss locations before walls or floors are closed.
How long does drain installation take?
Timing depends on route, length, access, project coordination, and whether additional work or inspection is needed. Ask for a sequence after the site assessment.
What should I do if a drain pipe is leaking?
If safe, stop using the fixture and protect nearby belongings from water. If water is spreading or near electrical equipment, keep clear and seek appropriate urgent help.
What should a drain installation quote explain?
It should identify the affected line, route, connection, access work, testing, and how changes are approved if conditions differ from what was visible during assessment.
Plan a clear next step
For drain installation in Bonita Springs, start with the fixture or symptoms, then ask for an assessment that explains the route, access, and evidence behind the proposed work. Whiskey Creek Plumbing serves Southwest Florida, and our fixed-price approach means the described work and price are reviewed before work proceeds.
Request an assessment for your drain installation
A dependable plan addresses the actual need, makes the work understandable, and includes a check that the finished line functions as intended.